Showing posts with label eclectic. Show all posts

Monday, February 7, 2011

Storage solution for counter clutter

I was in Goodwill the other day walking down the aisle of wooden household decor. If your Goodwill is like mine, the aisles are filled with rude people who just won't move over. I turned into the aisle and about 4 feet away was the coolest wall hanging storage piece. Of course the lady in front of me doesn't move over even with a polite excuse me. Then she picks the piece up. I freeze because I knew I wanted that piece. She holds it for a minute, looks it over, then sets it down...PHEW!! When she moves, I grab it. Not only do I instantly love it, but it has a low price tag of $4.

Here it is when I get it home.


Of course I know immediately that I am going to paint it. I removed the name plaques from the front because one is missing. I filled the holes with filler. I primed it with BIN because it had a shiny finish I didn't feel like sanding the finish off first. I gave it two coats of a funky green and distressed it. I painted numbers on the front for a whimsical touch.


In addition to this piece, I am going to get a little off subject. I wanted to share an art project my son RJ did in school. Something about it impressed me so much. It was just so unique. He created a profile picture of "someone" out of little tiny smiley face stickers. How he knew where to put each color to enable the features to come alive is beyond me. Of course I knew who the picture was of immediately. Can you tell who it is?


We just recently did his BEDROOM MAKEOVER. I am going to buy a frame for this and add it to his wall space.

And the last order of business today is the announcement of my lucky giveaway winner. The giveaway was from Mistflower Photo. The winner was Cassie from Primitive and Proper. Congratulations Cassie!


Linking to THESE fabulous parties....

Sunday, January 30, 2011

Great sign idea for shop owners

I really have to apologize for my lack of sharing exciting projects this week. If you are in the New England area, you know that we have been hit with record amounts of snow this January. I shared a few weeks ago the snow Randy and I have had to contend with. You can see that HERE. Since that post, the snow is higher, the roads are icier and the plow has taken our mailbox out. Getting furniture down our dirt road and into our driveway has been a little tough and last on the list. So in the meantime, thanks for taking the time to view my "little projects".....

A few months back a salon owner saw my signs at the flea market I was vending at. She loved them and wanted some for her shop, but the town she worked in had strict guidelines that she couldn't have a sign near the road. Apparently her shop is set back on the road and this would be her only hope of pulling in any business. So, we came up with this idea:


The two signs were attached with a vertical board on the back. The base of the post is stuck into the planter. The planter is on a cart that wheels. Each morning and night, she pushes the planter to and from her shop out to the street. This is her way of getting around the "permanent fixture" she is not allowed to have.

My GIVEAWAY ends tonight at midnight....Last chance to enter.....


Linking to THESE fabulous parties...

A Little Knick Knack

Friday, January 28, 2011

4th recycled project from wardrobe

You can read about the wardrobe I am using for recycling pieces and project #1 HERE


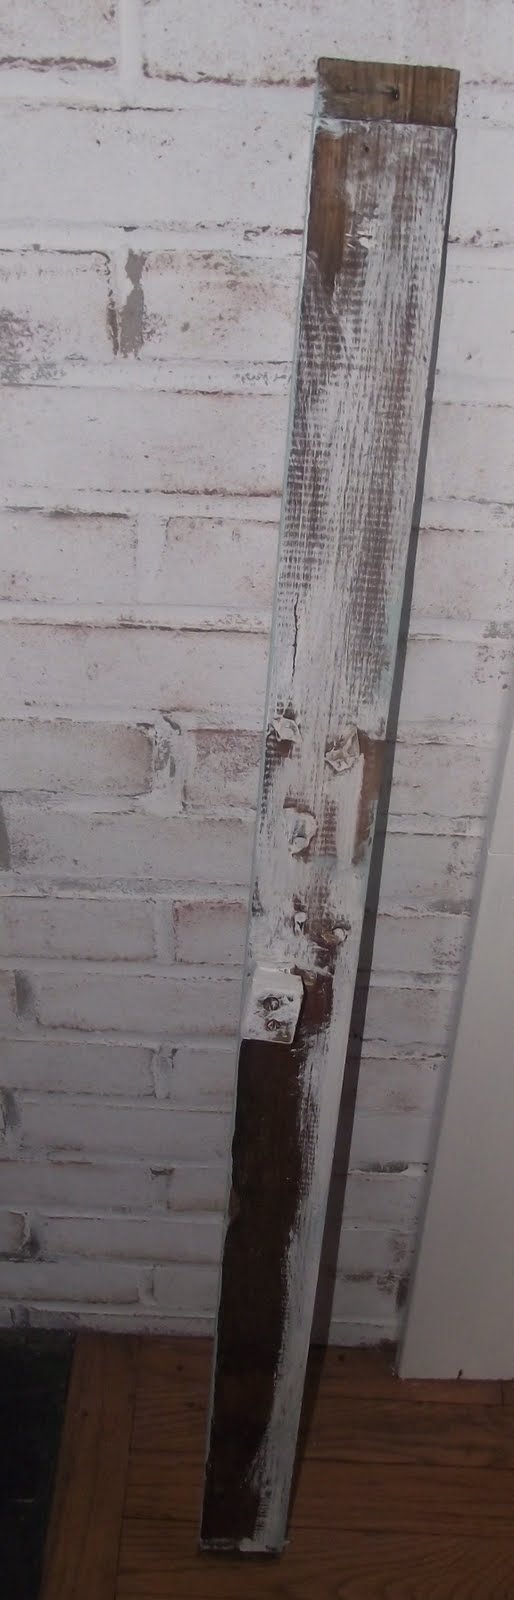
And for project #4 I used the top board that held the wardrobe stable.


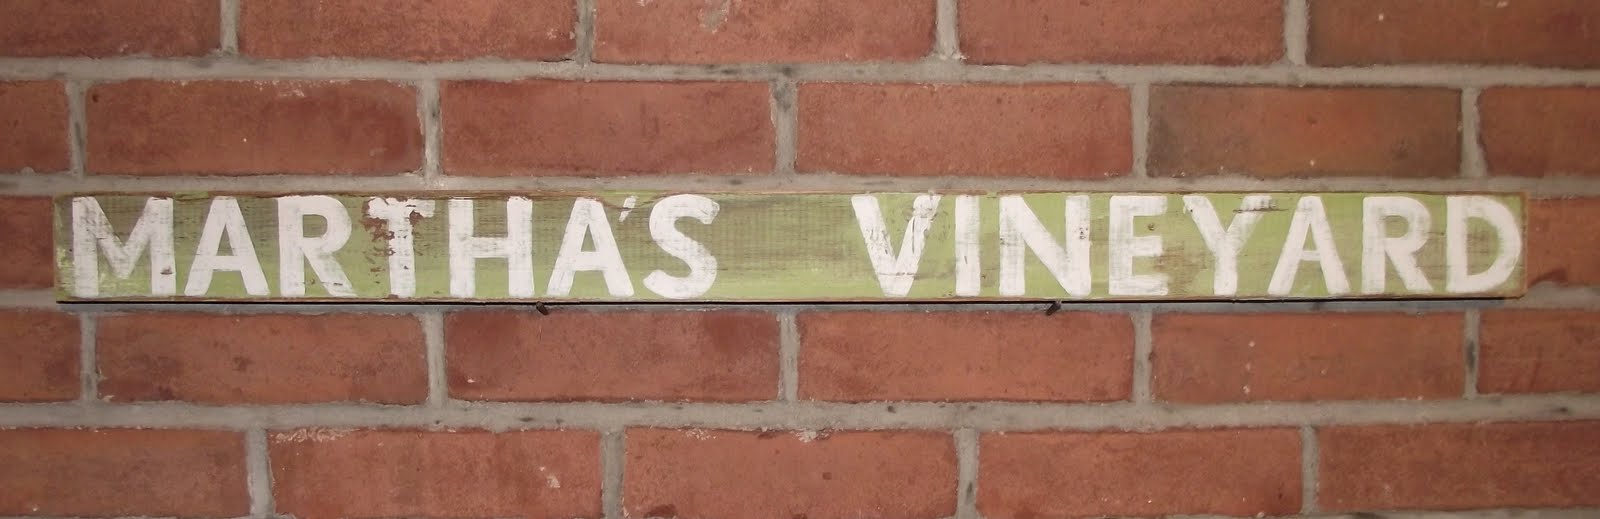
Yet again, a sign it is...... I found some great cardboard letters at TJ Maxx used for scrap booking. They were only $1.99 and will be used for hundreds of future projects. The board was long, so I needed a long word. I chose Martha's Vineyard. I lined them up first to make sure they'd fit.


I painted it a funky green. Next I painted the letters on....Once dry, I distressed the sign....It's fun whimsical, and unique.......


Only two days left to enter my Etsy seller #2 GIVEAWAY.


I'll be linking to these PARTIES

Thursday, January 27, 2011

Vintage dish cake plates.....

The kids had a snow day AGAIN today. This is the most shoveling I remember doing in years. So like yesterday, I only have a small project to share today.....

You have probably seen the dessert and jewelry dishes around blogland that people are making from vintage dishes. Today I am going to share two that I put together.

I purchase the dishes and vases from thrift stores. I pay anywhere from 50 cents to $1 a piece. Here are the items for the two I will be sharing today.


To attach the pieces I use an epoxy that adheres ceramic and glass to each other.


The finished products are great for desserts, cakes, fruits, soap, jewelry, etc....


Be sure to stop by and enter my Etsy seller giveaway.


Check out the great parties I am linking this project up to HERE

Saturday, January 15, 2011

Paris chic buffet makeover

About 8 years ago I purchased an amazing buffet from an estate sale for $50. I did a gorgeous diamond pattern paint job to it. The process was done by taking an 8 inch floor tile to trace the pattern. It was a long process to trace and paint, but I was very pleased with the end result.


Looks great from a distance, but when you get close up there is peeling veneer, peeling paint, water stains, and knobs have come unglued from the base.


To prep the buffet, I filled the area where the veneer peeled with compound.


Once completely dry, I sanded it to a smooth finish. Although I did not prime the entire piece before painting my new pattern (it was primed before the original paint job), I did prime the area I just covered with compound.


I always liked this color, but it has worn on me after all these years and it was time for a change. I wanted to go with a Paris chic style, so I decided to use the black paint from my bedroom. The color is called French Beret from Benjamin Moore. The contrasting color I used on this piece was the French Beret with a little white mixed in.

I was going to maintain the same diamond pattern. This can be very time consuming, so I wanted the project to go as smoothly as possible. I am not a big fan of taping off patterns on furniture because the lines can tend to be to perfect. So the next best solution for me is to hand paint each and every line. The best way to do this is by investing in a good brush. Many shy away from this because they don't want to spend the $20$30. Instead, many by $1 brushes from the dollar store, the flea market, or Wal Mart. Please trust me when I say you are going to end up spending $25 on those before the life of your good brush ends.

My favorite brush to use is my Purdy.


This brush has been lovingly used for 2 years. I have literally used it for hundreds of projects and room renovations. The condition is still great and it still has tons of life left in it. Well worth the investment. The key is to spend the extra time giving it a good cleaning after each use.

My Purdy brush was perfect for this project because the bristles move along smoothly and the angled bristles help me cut in along my lines and corners to perfection.


Yes, the project is long and tedious, but with out my Purdy brush, I never would have achieved these straight lines. Plus the project would have taken much longer with a crappy cheaply made brush.

When I came to an edge or corner, I used a piece of paper as a guide for my lines. The reason behind this is that the paper will bend where needed helping to continue with straight lines.


Here is the buffet after one coat of paint....


After this, I distressed the piece with my palm sander, repaired broken knobs with gorilla glue, and covered the entire piece with a coat of polyurethane. The knobs are my favorite part of the piece. I purchased these from Anthropologie years ago on clearance for $3 each.

Despite the amount of time, I am very pleased with the end result. I can't wait to refill the drawers and decorate the top.


Take care,
Lisa

I am entering this project in the monthly DIY CLUB contest.

The parties I am linking this to can be viewed HERE

DIY Club