Showing posts with label house renovations. Show all posts

Wednesday, January 12, 2011

Eclectic chic master bedroom makeover.....

It was long over do, but the makeover of my bedroom was completed. It was gutted from ceiling to floor. A new heating system was put in, therefore all the ducts had to be boxed in. Once this and the electrical were done, the sheet rock was put up. Then the ceiling, crown molding, doors, flooring, baseboard, and of course the painting....I'm sure I left something out seeing that it seemed never ending, but I'm sure you get the idea.

Then on to the fun part...THE DECORATING!!! I had a duvet I purchased from Anthropologie years ago. I was set on using this as my inspiration piece. Hence, in order to match, the wall had to be painted black. "French Beret" from Sherwin Williams to be exact. I still feel like there is more to be done like accessories, a fireplace screen, and an area rug, but I have a good palette started.


One of the walls has a fireplace which as I said above, I still have to get a screen for. In the meantime, I have placed some accessories in it. The mantle I showed the re-do for can be viewed in detail HERE.


At a tag sale years ago I found this vintage radiator for $10. It is rusted to perfection. Green and blue stones embellish the front. I am in love with this piece. I am still looking for the perfect decor to go on top of it.


I painted my version of subway art on an old table top. "Dream, Retreat, sleep, Relax".


In front of the window I placed an old table with two ice cream parlor chairs I painted copper. The base of the table is an amazing heavy piece of iron. The top was simply a piece of plywood so I covered it with vintage ceiling tin and painted it. Over time it has rusted on its own giving it the perfect patina.


In front of one of the windows I have what was my Grandmother's iron vanity chair that she sat in every morning and night. In front of it is an antique ottoman that I reupholstered with black suede fabric. I outlined it with a gorgeous lace rosette trim. I purchased it from Etsy from a great shop called Frog Feathers . The curtains are a white gauze I purchased from Ikea. They were only $4.99 a pair. I embellished each knot with an organza flower I purchased from Etsy. The shop is Snuggle Bunny Too They were only $10 for all 4 and that included the shipping.
.


I purchased a great print from Etsy from the shop Black Baroque. It was only $10. I framed it with a frame I already had laying around. You can't beat the price or the uniqueness of it. I hung it on the brick pillar I painted white and distressed.


As I said above, the duvet was purchased from Anthropologie. The white pillow cases are vintage lace ($1 each tag sale purchase), and the black shams are from Anthroplogie. The silver ruffled pillows are from TJ Maxx. I made the bench at the foot of the bed. I posted the "how to" HERE.

The ceilings are bead board and crown molding surrounds them.


Take care,
Lisa

The parties I link to can be viewed HERE

Sunday, January 9, 2011

Putting up a bead board ceiling tutorial

Good morning everyone.....I have had a lot of questions regarding the bead board ceilings I have in many of my rooms.
I thought today I'd give my version of a tutorial as to how this was done.   Please remember too that everyone does this different ways.  My may or may not work for you. 
First, here are the pictures of the ceilings that are done....

The main bathroom....I used 4 inch 5/8 thick pine tongue and groove bead board.  I left the natural finish and just put a clear coat of polyurethane on it.


My son Reece's room

My daughter Sami's room

My master bedroom


Bathroom/laundry room

Thankfully, the living room, kitchen, hallway, my son RJ's room, and stairwell already have gorgeous cedar ceilings. When I get to the renovations of these rooms, the ceilings will be staying as is...


The master bath is in the process of renovations right now, so even though the boards are already up, the construction around them is still happening so it will be a little easier for me to give the tutorial.

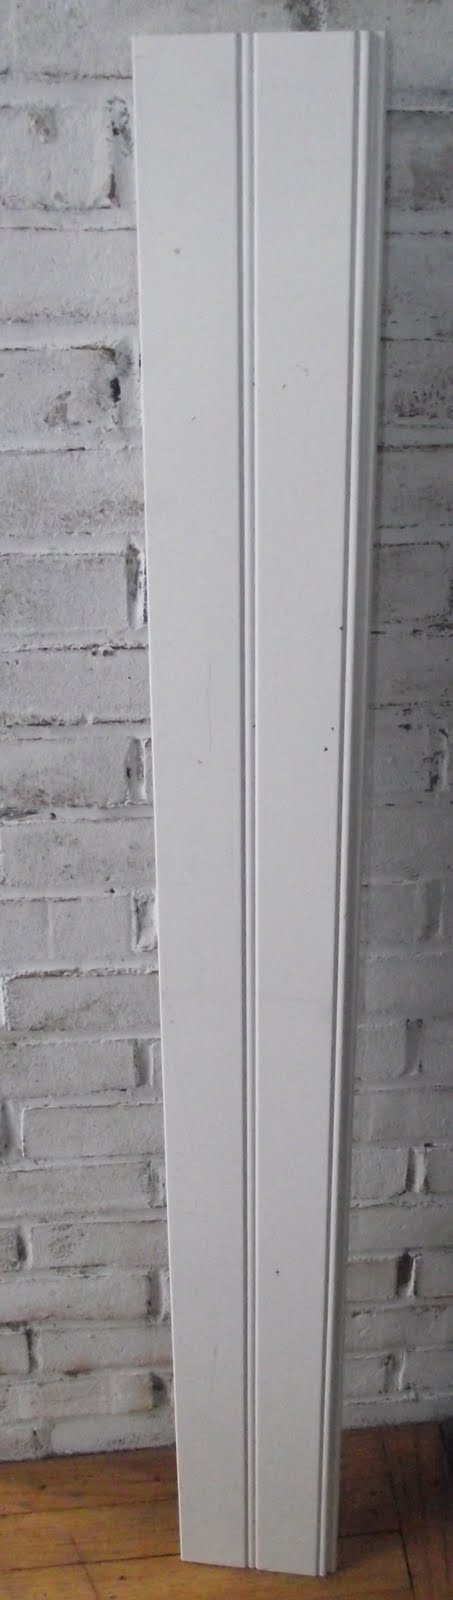
Other than the main bath, I use 6 inch 3/4" thick bead board.  I buy it pre primed since I am painting it anyway. It is less expensive because it is PFJ (prime finger jointed) and has a few flaws here and there. But, this is fixed this with caulk, filler, and paint....All of which I'd be using anyway. It is real wood. Just not as gorgeous and well made as the pine we used in the main bath.

This is what it looks like with the tongue and grooves:


You obviously buy boards longer than the length of the room.  Each board is cut to size as you go along. Do not assume you can cut all boards ahead of time to the length. Even if you are working in a square or rectangular room, the lengths can be off slightly due to the original framing. We worked with a gutted ceiling so our studs to nail the outer boards to were exposed. If you are working on a sheet rocked or popcorn ceiling, be sure to mark off the studs prior to starting.

Cut your first board to size.  A nail gun was used and placed the first board. We nailed the length and ends to the studs. These nail holes and uneven edges will be covered later with crown molding.


Cut your next board to size. Fit the tongue into the groove.  It helps to cut a small piece to use as a tapping block. Put this on the outside of the board and bang the board into the stationed board. This prevents damaging the board you are using. At this point you don't not want any nail holes on the surface of the ceiling. Nail the edges that will be covered with crown and nail the groove into the sheet rock. It is ok if the nails in the groove don't go directly into studs. These are just stabilizers. The nails at the ends and the next piece you put in will hold it into place. Continue on until you hit an obstacle such as a fan, light fixture, or a wall that may jet in or out.


Notice in the second picture above there  happens to be a boxed in area for the heating system. When we got to the end of this area our ceiling became wider. If you get to a point such as this, you may need to notch part of the board out to fit the puzzle of the ceiling. We use a jigsaw for this. When you get to something such as the light or ceiling fan gap I have shown, just cut two separate boards to butt up to each side of the hole. You might have to do a little notching here too. Don't worry, the cuts and notches will be covered by the fixture you are putting up.

When you come to the last board, be prepared to be stressed!! This is unfortunately a difficult board to put up. You have to angle it in.  A chisel is used to place between the last board and the stud.

Be sure to nail the last board along the edges and the length to the stud. The next step is filling any knicks or dings in the ceiling. Sand when dry. Do not paint until you are done putting up your crown, filling holes in the crown, and caulking the top and bottom of the crown.

Again, here is the before....


And after....


I highly recommend you spend the little bit extra and purchase your wood from a reputable lumber yard. Although I purchase a lot from Home Depot or Lowe's I steer clear from getting our wood there. You may think you are saving, but the wood you get from Home Depot will be damaged, not as durable, and the quality just isn't the same. You will end up throwing boards away and spending more in the long run. Surprisingly, my crown molding was even less expensive at my lumber yard than Home Depot and they delivered  for free because we had a large order.

Please remember this tutorial is coming from a stay at home mom.  LOL


Have a great Sunday...
Lisa

Friday, January 7, 2011

Reece's retro room....

Well, you have seen RJ's room....and you have seen Sami's room....So now we are onto Reece's room....

His room was gutted from ceiling to floor about 2 1/2 years ago. We went with a retro Ikea theme. The majority was purchased there with the exception of a few things. He was adamant that nothing be "antique" or "distressed"....I begrudgingly had to comply....He chose orange paint for the walls, then let me design the rest....


We put the bead board ceiling in like we are doing throughout the house.  We installed a new hardwood floor.  The iron bed, white locker, red locker, green shag rug, fabric for the curtains, storage cubicle, metal bins, clock, mirrors, side table, bedding, circle art, and magnet board were all purchased from Ikea.  The bed was originally a loft, but Reece got tired of climbing up and hitting his head, so Randy cut it down for him.  The large chair is covered with an Egyptian tapestry I purchased from Ebay.  I painted the Ikea side table with chalk paint.  Believe me when I say his room is NOT always this clean!

I am almost done with the room reveals for the time being. I guess that means there are many rooms left to be gutted and re-done...UGH!!  With in the next week I will show the master bedroom and my laundry room/bathroom.  After that, it could be a while before the next room is finished....In the meantime, I hope to share furniture makeovers, tutorials, and some crafty projects....

If you ever have any questions as to how I do something, a paint color, what products I used, etc. please don't hesitate to ask

Take care,
Lisa

Thursday, January 6, 2011

Girl's funky chic bedroom

About 2 1/2 years ago we re-did our daughter's bedroom from ceiling to floor. The entire room was gutted. A bead board ceiling was put up, new sheet rock, baseboard, trim, closet doors, window, and flooring. She was 7 years old at the time and we decorated it with a Paris chic theme. This WAS the room.


Even though she is only 10, she has been become acquainted with the very funky and colorful teen rooms seen on TV. She wanted a bit of a change, so I went with the flow and gave it to her. It was going to be a no cost change because I sold the old bedding and furniture which payed for the new bedding and furniture.

The new bedding is from Cynthia Rowley. You will see that I had a very vibrant color palette to work with.


The mirror was something I had purchased from TJ Maxx years ago. I gave it a coat of white paint and distressed it. The green umbrella was purchased at the flea market for $2. Both lamps came from Goodwill and were given new paint jobs. Total cost for both was $6. I embellished both lampshades with fabric I had. The side table was $2 and was painted aqua and given a chalkboard top. The orange chair was a Christmas present purchased at TJ Maxx. Tulle bed skirt was purchased on Etsy. The sign was made by me.


I am so proud to say that the vanity belonged to my great grandmother and my grandmother after that. I remember her sitting at this every morning to do her hair and makeup. Then she would sit at it every night to prepare for bed. For Christmas I surprised Samantha with it. I gave it a new paint job and added a vibrant skirt with bright trim. Sami is so proud and appreciative that this belongs to her.


A vintage tole pin embellishes the gauze curtains I purchased from Ikea.


A bulletin board I made for her holds her pictures and other fun objects. A blue chair sits in the corner and an armourer I painted gray holds her TV and crap all of her little girly stuff. The knobs were purchase from Bombay Kids years ago when they were still in business. I miss that store so much.


The photo frame was a $1 thrift store find. I sprayed it silver then used my glue gun to embellish all of my mother in laws vintage clip on earrings to it.


Lastly, the bead board ceiling and crown molding add character and charm to her room.


You can take your sunglasses off now :)

Take care,
Lisas