Yesterday I shared my latest thrift store find. I purchased this hutch at Goodwill for next to nothing. $32.50 to be exact.
My color choices are always based on what I have laying around the house. I spend pennies on my overhead when painting pieces because I am sure to use OOPS paint and a piece of sandpaper for the most part. That is usually it....Unless I add a glaze or some polyurethane.
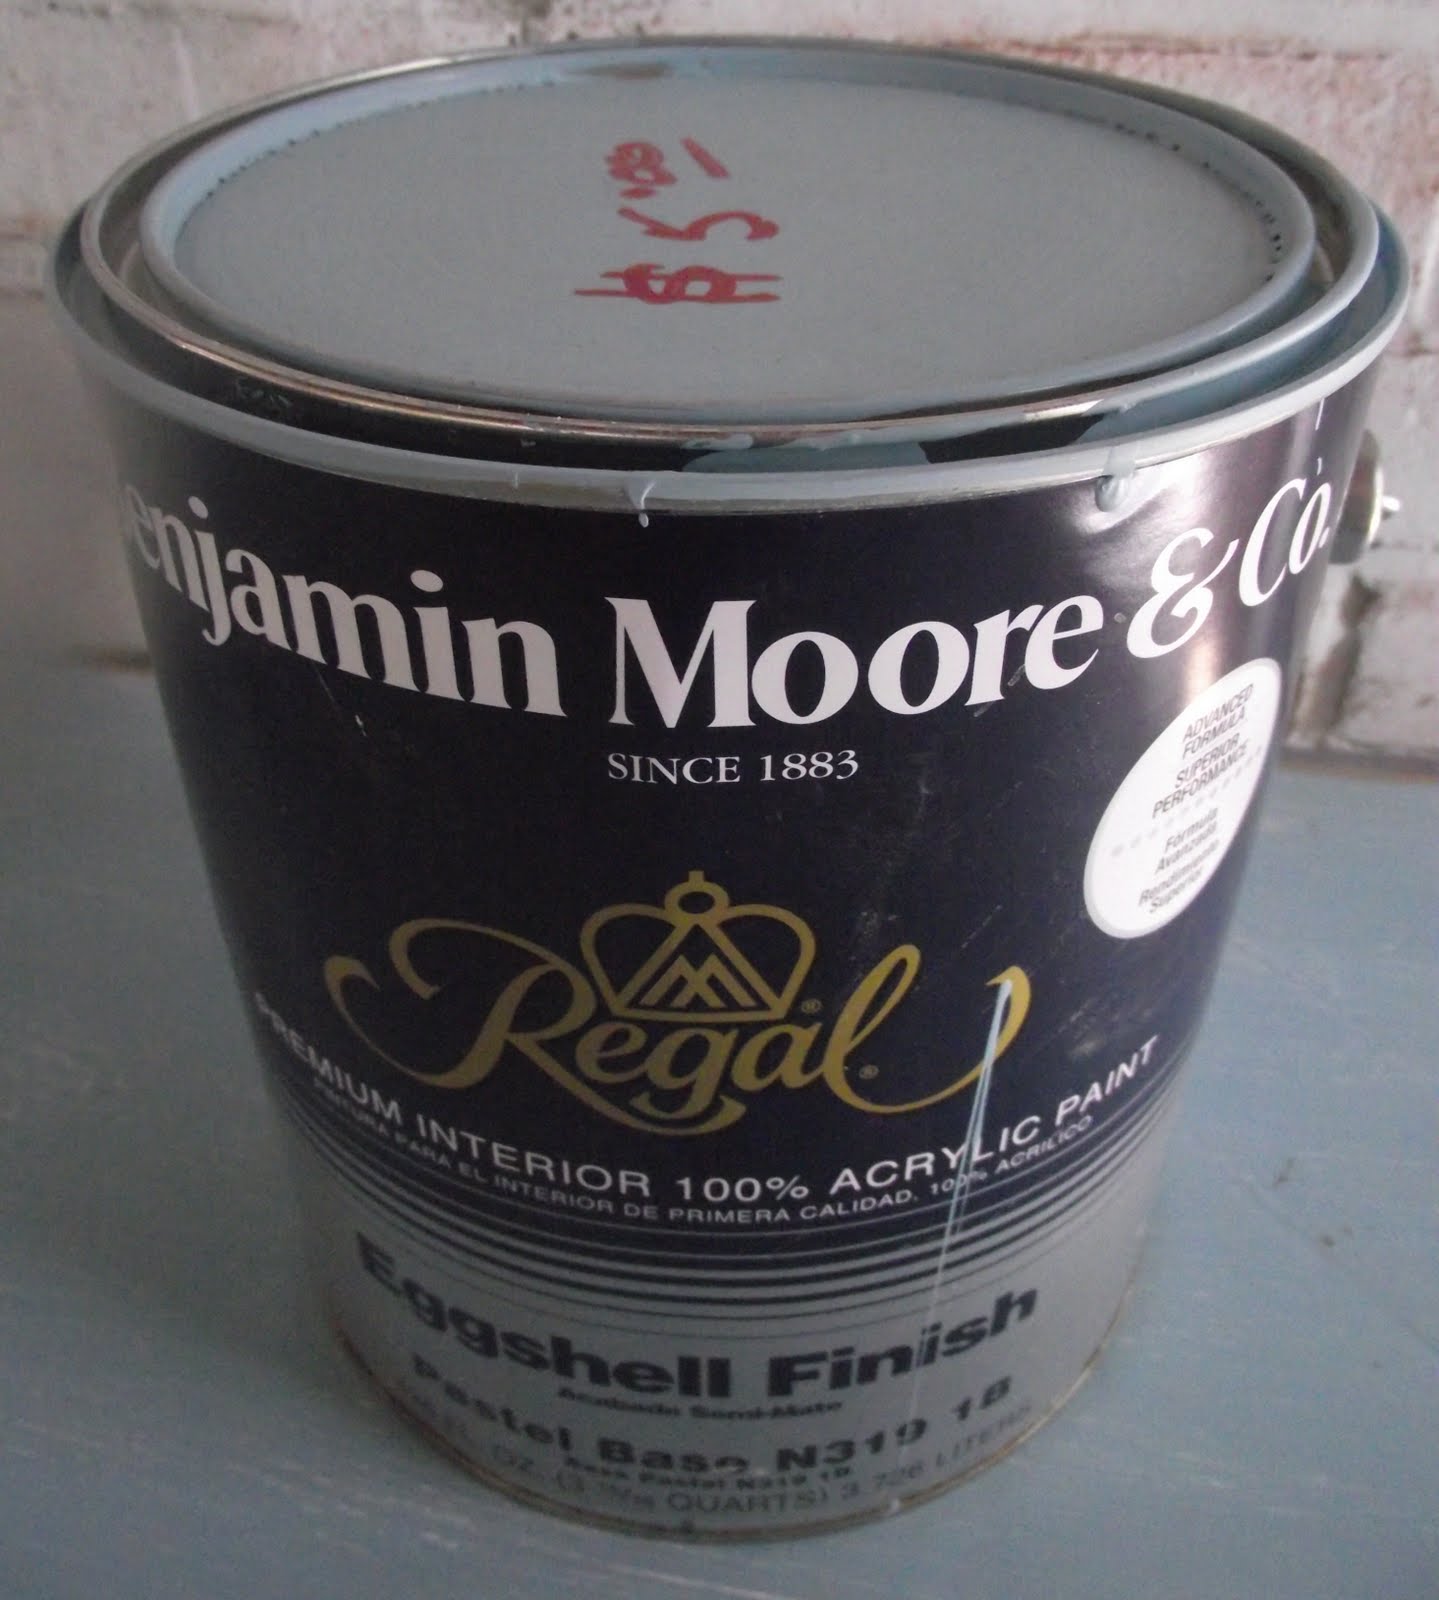
Here is the OOPS paint I used for this particular project. It is a gallon of Benjamin Moore eggshell that Randy found at the local hardware store for me for $5. I didn't even end up using 1/5 of the can, therefore using less than $1 worth of paint.
I wanted to paint this hutch 3 different colors. Two tones of the green and the interior white. So, in order to achieve the other green tone I was looking for, I mixed the original color with some white. In the end, I had a pale olive green, and a celery green.
The piece is solid wood. The original finish was a bit shiny though, so I would have to do something to prevent the paint from peeling. Many would have sanded the entire piece down. I hate to sand. Having to distress it at the end is enough for me. So, to avoid this step, I prime the entire piece with BIN primer. It adheres to the wood and will prevent any peeling. It is also meant to be used as a stain blocker.
Now I was ready to tackle the project. I painted bin on the entire piece and let dry completely. Bin dries pretty fast. If you are in the right conditions, you should be able to apply your first coat of paint with in an hour or two.
Now you are ready to start applying color! I went with my lighter celery color first. This was going on the doors and drawers. I shared a few days ago, how important it is to have a good brush. You can read about that
HERE. By using my Purdy brush with an angled edge, I am able to paint easily on hard to get spots. I don't have to waste my time or money taping or scraping in the end.
Here are some photos after the first coat. Doors and drawers are celery green, the body is pale olive green, and the interior is white for some "POP". The lighting wasn't the greatest in this room at the time of the day, but you should at least be able to get an idea.
To finish the piece, I had to do the second coat of paint, distress the piece with my palm sander and do a new finish on the knobs and pulls. I painted all of them white. Once they were dry, I distressed them allowing some of the natural black to come through. A piece of advice I have when sanding is to let the piece you have painted dry overnight, or for at least 12 hours before tackling this task. If you sand before the piece is completely dry, you are risking the paint gooping up on the piece of furniture and the sander.
My lighting was a little strange today. I tried taking this inside, outside (yes, I made my son RJ help me carry it in and out), with the flash, with out the flash, changing the settings, etc. In the end, I swear it is just the color giving me a hard time. It looks much better in person, but these pictures should give you a good idea.
Be sure to check out my
GIVEAWAY
from The Painted Sky
Also, I just wanted to thank Cassie at
Primitive & Proper for inviting me over to her blog to do a guest post. I'm sure most of you know her already, but if you don't, be sure to check her blog out. You'll love her unique eclectic decorating style.....
Take care,
Lisa
Linking to these
FABULOUS PARTIES