Showing posts with label Before and after. Show all posts

Sunday, September 4, 2011

Country cottage chairs

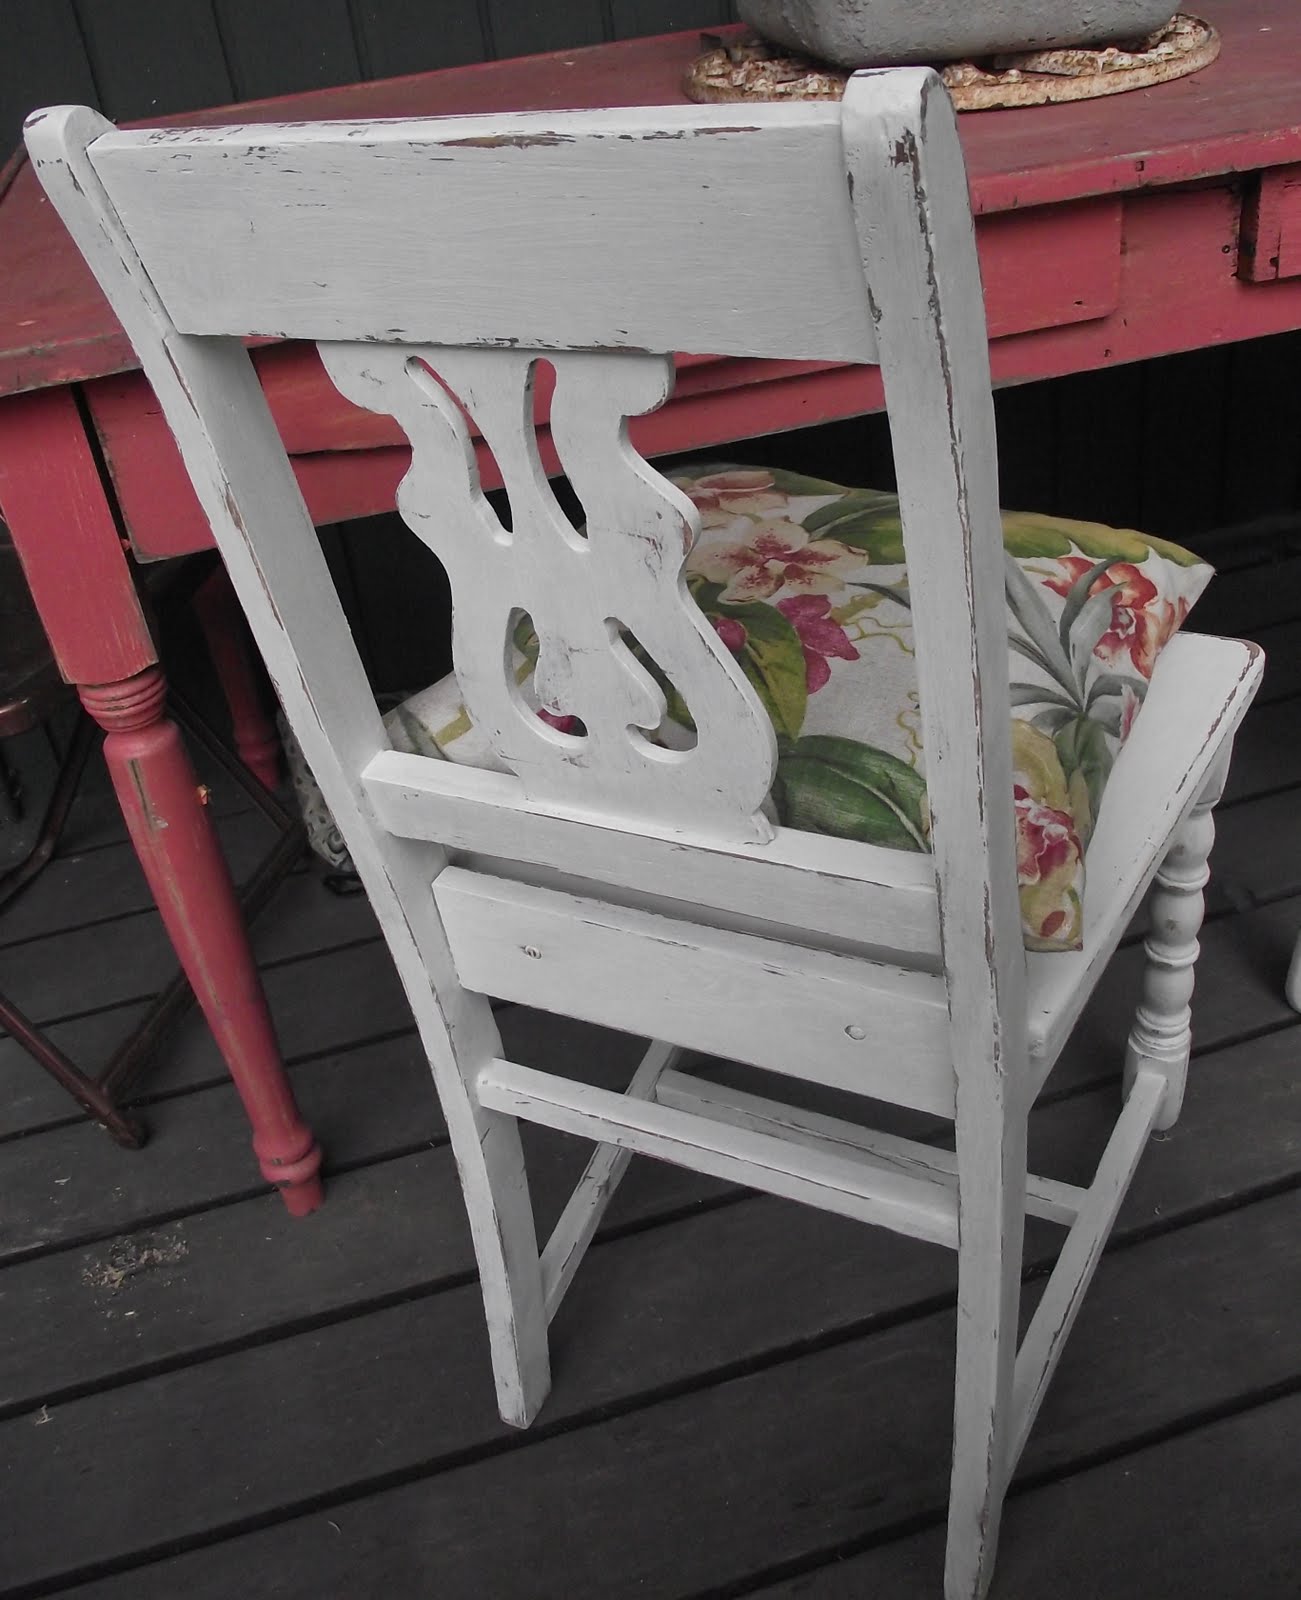
A friend of mine gave me the cutest unfinished chairs. (OOPS started to paint them before remembering to take the before picture)


They were craving white paint to give them some cottage appeal....


Hope everyone is having a great weekend.

Friday, August 26, 2011

Shabby chic blue buffet

There was this piece at Goodwill that I debated over for a week. It was just so darn ugly. Each time I went in, it was still there, so I am thinking everyone else thought it was just as ugly as I thought it was. Finally it went to half off and I decided to suck it up and take a chance. I guess I couldn't go to wrong for $12. Worse case, I could use it for firewood...


I pulled out my favorite color....blue! Painted the piece up and thinking this might be the best $12 I have ever spent!


Monday, February 7, 2011

Storage solution for counter clutter

I was in Goodwill the other day walking down the aisle of wooden household decor. If your Goodwill is like mine, the aisles are filled with rude people who just won't move over. I turned into the aisle and about 4 feet away was the coolest wall hanging storage piece. Of course the lady in front of me doesn't move over even with a polite excuse me. Then she picks the piece up. I freeze because I knew I wanted that piece. She holds it for a minute, looks it over, then sets it down...PHEW!! When she moves, I grab it. Not only do I instantly love it, but it has a low price tag of $4.

Here it is when I get it home.


Of course I know immediately that I am going to paint it. I removed the name plaques from the front because one is missing. I filled the holes with filler. I primed it with BIN because it had a shiny finish I didn't feel like sanding the finish off first. I gave it two coats of a funky green and distressed it. I painted numbers on the front for a whimsical touch.


In addition to this piece, I am going to get a little off subject. I wanted to share an art project my son RJ did in school. Something about it impressed me so much. It was just so unique. He created a profile picture of "someone" out of little tiny smiley face stickers. How he knew where to put each color to enable the features to come alive is beyond me. Of course I knew who the picture was of immediately. Can you tell who it is?


We just recently did his BEDROOM MAKEOVER. I am going to buy a frame for this and add it to his wall space.

And the last order of business today is the announcement of my lucky giveaway winner. The giveaway was from Mistflower Photo. The winner was Cassie from Primitive and Proper. Congratulations Cassie!


Linking to THESE fabulous parties....

Friday, January 28, 2011

4th recycled project from wardrobe

You can read about the wardrobe I am using for recycling pieces and project #1 HERE


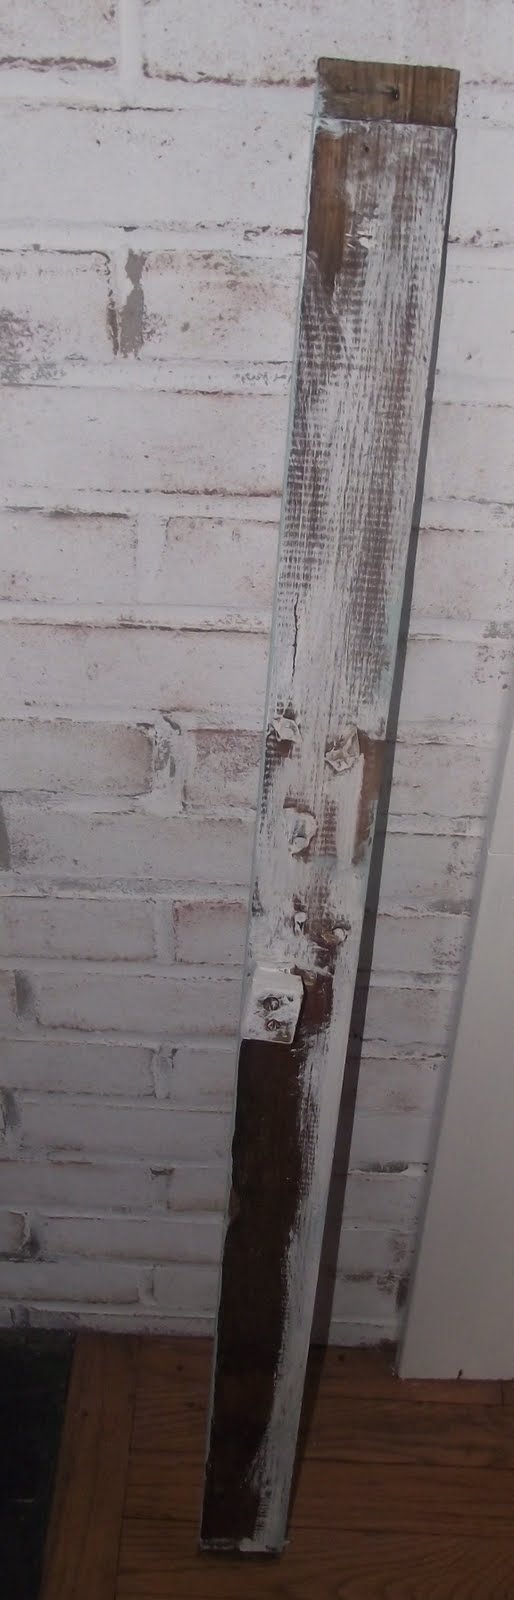
And for project #4 I used the top board that held the wardrobe stable.


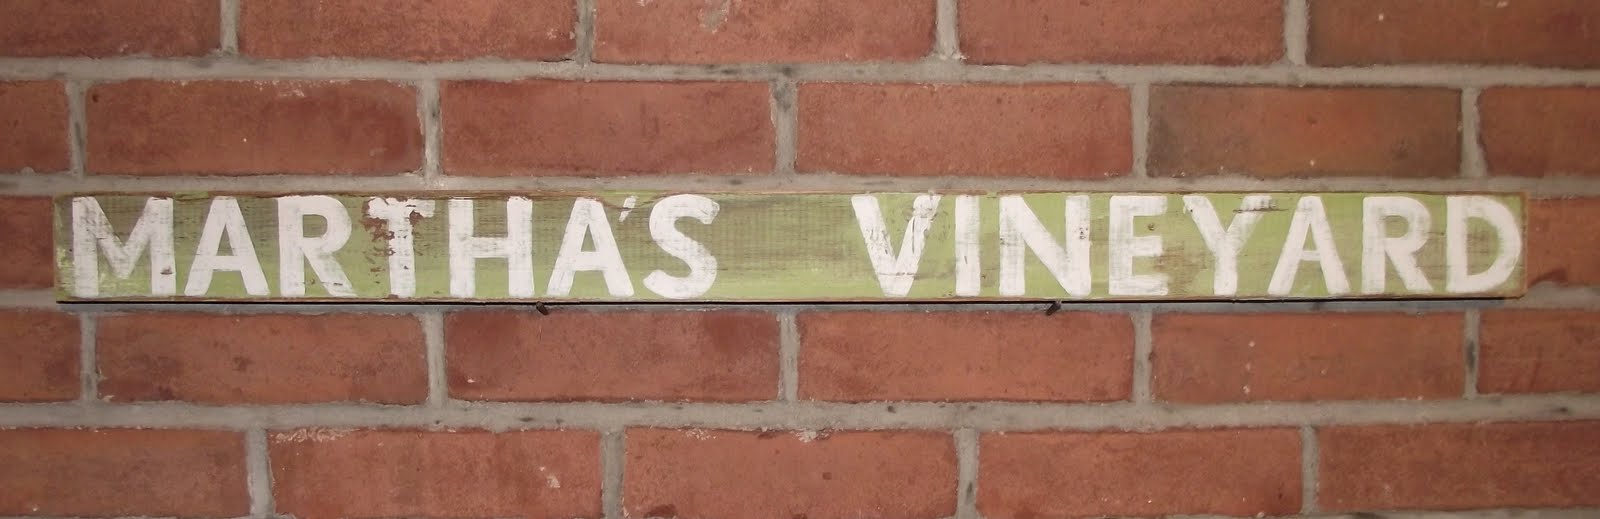
Yet again, a sign it is...... I found some great cardboard letters at TJ Maxx used for scrap booking. They were only $1.99 and will be used for hundreds of future projects. The board was long, so I needed a long word. I chose Martha's Vineyard. I lined them up first to make sure they'd fit.


I painted it a funky green. Next I painted the letters on....Once dry, I distressed the sign....It's fun whimsical, and unique.......


Only two days left to enter my Etsy seller #2 GIVEAWAY.


I'll be linking to these PARTIES

Thursday, January 27, 2011

Vintage dish cake plates.....

The kids had a snow day AGAIN today. This is the most shoveling I remember doing in years. So like yesterday, I only have a small project to share today.....

You have probably seen the dessert and jewelry dishes around blogland that people are making from vintage dishes. Today I am going to share two that I put together.

I purchase the dishes and vases from thrift stores. I pay anywhere from 50 cents to $1 a piece. Here are the items for the two I will be sharing today.


To attach the pieces I use an epoxy that adheres ceramic and glass to each other.


The finished products are great for desserts, cakes, fruits, soap, jewelry, etc....


Be sure to stop by and enter my Etsy seller giveaway.


Check out the great parties I am linking this project up to HERE

Wednesday, January 26, 2011

QUICK~easy~inexpensive gift idea~ViNtAgE aPpEaL

In addition to the 5,000 snow days and late arrivals the kids have already had, I found out this morning they would be having an early dismissal today because of another snow storm! Needless to say, I did not jump into any major projects.

I thought I'd share a great easy gift idea with you today. Mine is just one of many ideas you can use. I found this reasonably good sized galvanized bucket at Goodwill for 50 cents. It was brand new.


I brushed latex primer on....


Next I chose my color. I went with a vibrant orange. This is the paint we used in Reece's room. I painted on two coats. My picture only shows what it looked like after the first coat.


I distressed it with a sanding block.....


I found a print online that I printed out. I decopodged it on. You can read my modpodge recipe HERE.


Once dry, I I sealed the entire outside of the piece with Krylon polyurethane spray.


Here is the final piece....


Use this idea for so many different gifts. Put a flower print on it and fill it with flowers, use a tea print and fill with tea bags, use a toy print and fill with legos, etc.....Great for teacher gifts, party favors, mother's day, grab bags, etc.

Did you get the chance to check out my most recent Etsy sellerGIVEAWAY? Check it out and meet Jane and her vintage inspired jewelry.

Take care,
Lisa

I'll be linking HERE to these parties....

Monday, January 24, 2011

Little Boy Blue cottage dresser

I was so excited when I found this dresser at Goodwill yesterday morning. SOLID maple, vintage, stable condition, and 3 working drawers....And the best part....the price tag....$35.

In addition to loving all the above, I had never seen a dresser like this before. The pulls and the cut outs were so eye catching. Plus I loved the notched out areas on the drawers. This piece was screaming "DISTRESS ME"!


The first thing I did was the usual and primed it with BIN. By using the BIN, I am sealing it from preventing any of the wood color from bleeding through.


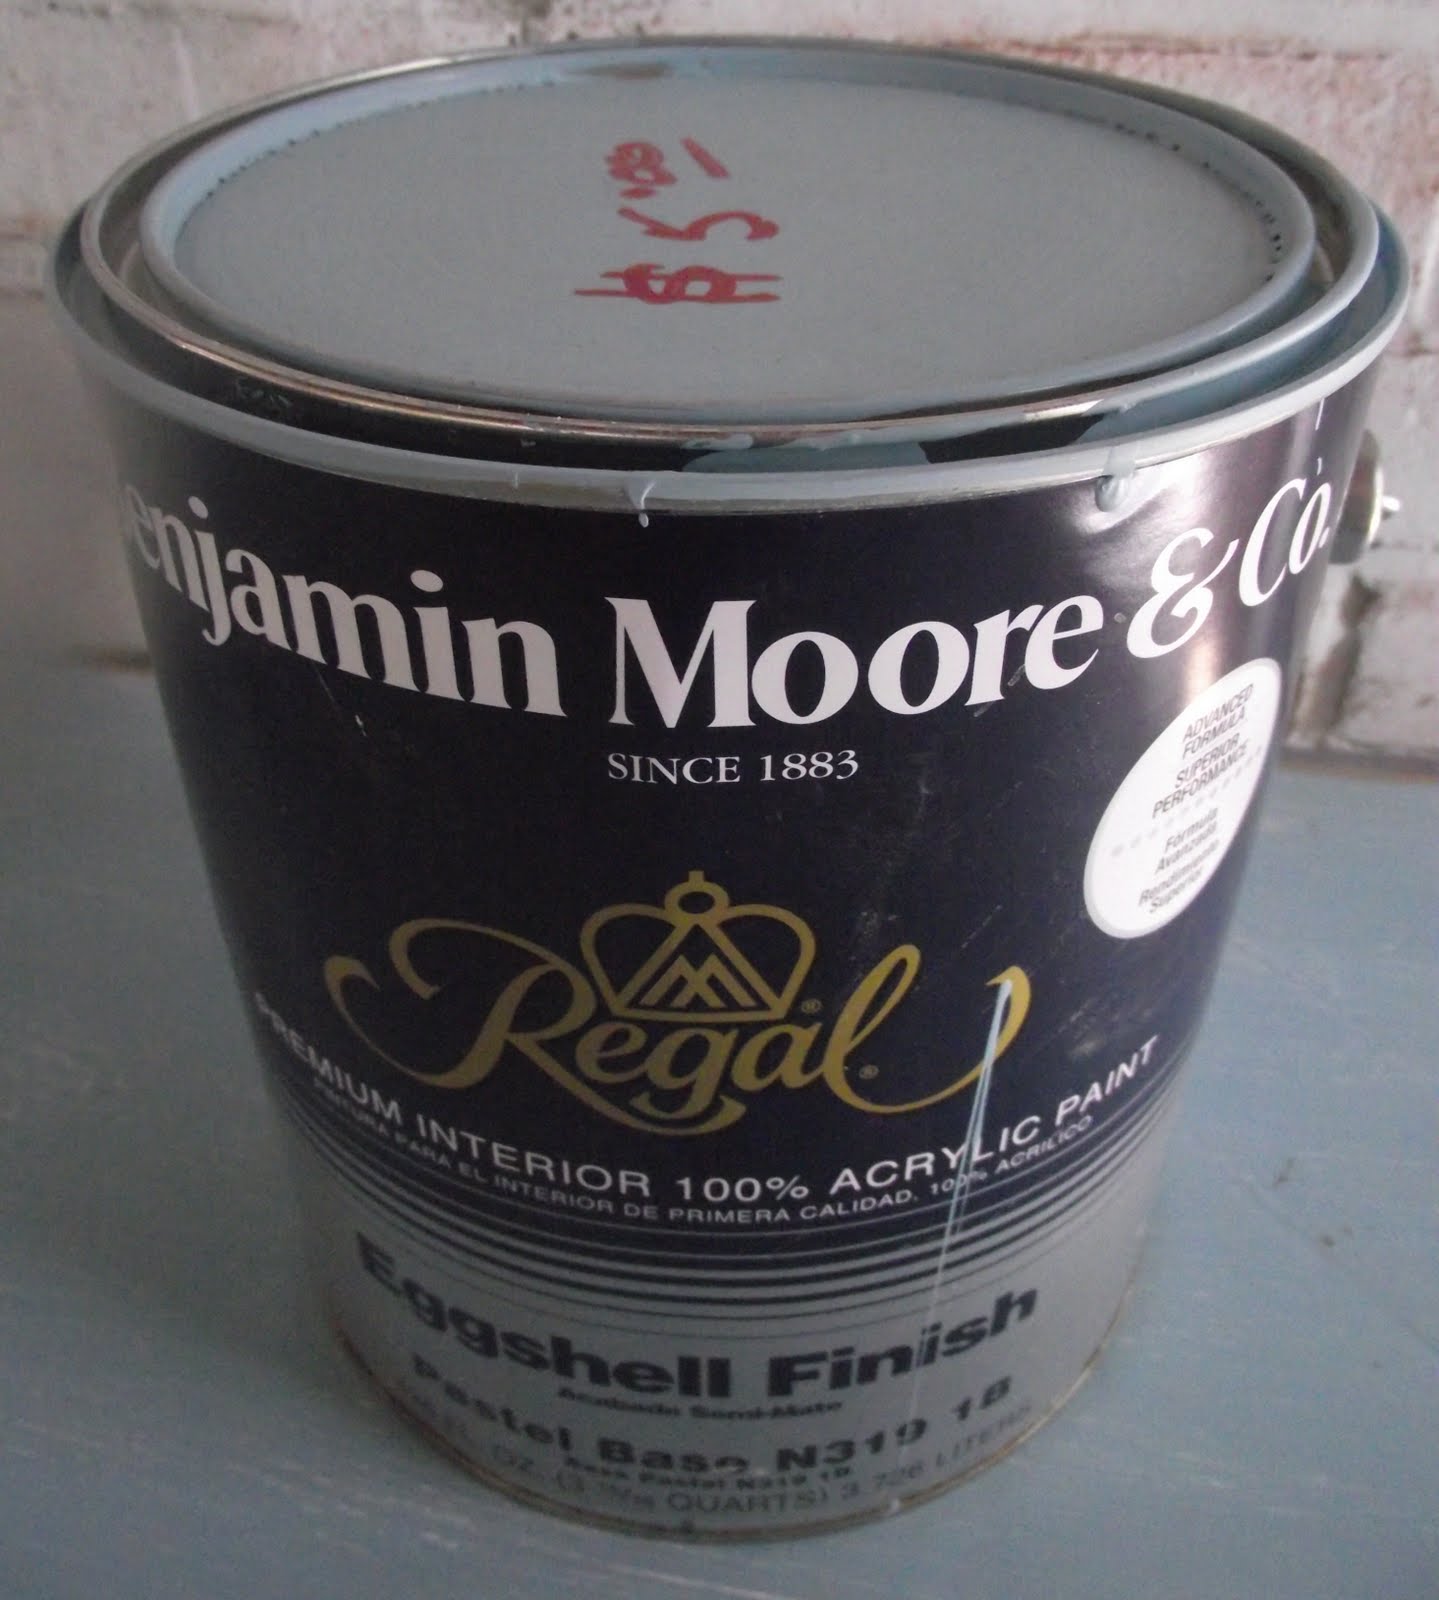
Next I chose my paint color as I always do by choosing what OOPS paint I have around the house. I went with this Benjamin Moore blue color that Randy picked up for me for $5. I will probably get 10 large projects out of this gallon, so I basically paid 50 cents to paint this piece. If that.....


Here it is after the first coat....Nothing exciting....


And.....the finished product...


I can see this piece in any room of the house. It can go boy or girl. Would be perfect in a large bathroom to hold towels and toiletries.

Thanks for looking!

Take care,
Lisa

I am linking HERE to a bunch of fabulous parties!