Monday, December 27, 2010

Vintage architectural wall art.....

A few years back I found an architectural piece from an old Victorian home at a tag sale. At the time, I had no idea what I would do with it. It had a price of $5 on it though, so I knew it would eventually go to good use. Since we are snowed in here in Connecticut today, I trudged out to the shed to get it....

Here it is what it looked like pre-project....


I knew I wanted to make some sort of wall shelf, so decided I needed to cut the top off in order for it to be flush.


Eventually I plan on adding a 1/2 circle board to the top as a shelf base. We didn't have anything large enough laying around though, so it will just have to wait. I took a wire brush and cleaned it up a bit. I left the original paint job because I didn't want to mess with the integrity of the originality of this piece. Here is what I came up with.....
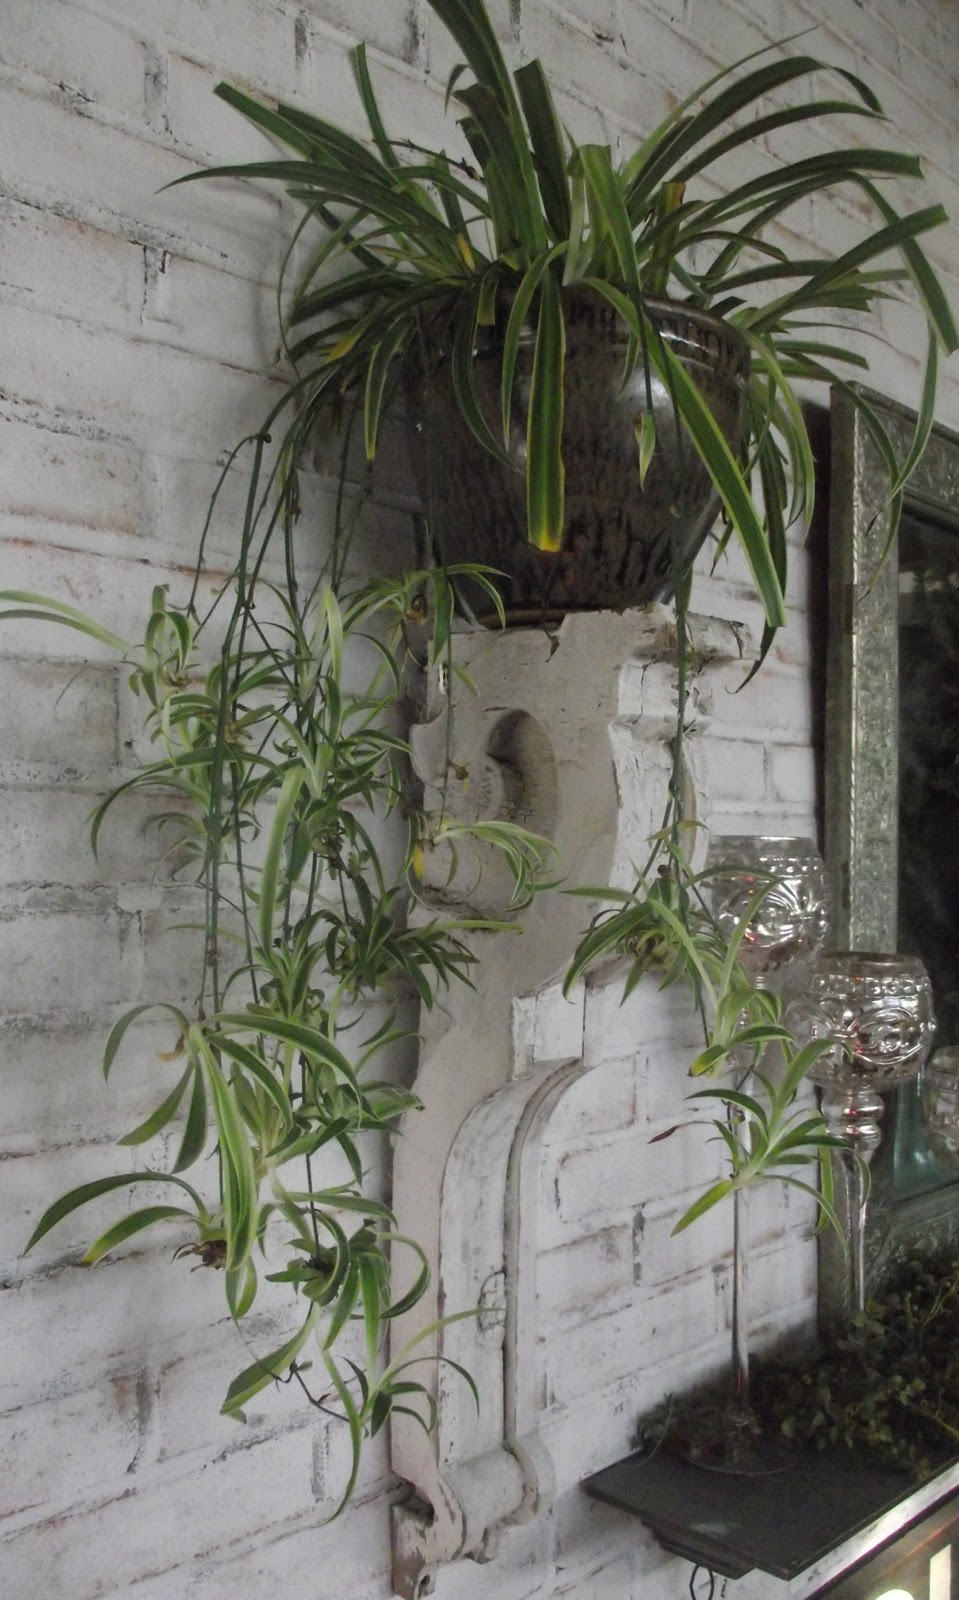


The white brick you see in the background is a project I tackled a couple of months back. Once I change my mantle scape from Christmas to Winter, I will give the tutorial as to how I did this....

Take care,

Lisa

Linking here:
C.R.A.F.T.
Making The World Cuter
Between Naps on the Porch
It's so Very Cheri
The DIY Club
My Uncommon Slice of Suburbia
Faded Charm

Sunday, December 26, 2010

One of a kind wall art.....

I am definitely one who likes to have everything in my home be unique and one of a kind. I was looking to fill one more wall in my bathroom. I came up with a solution utilizing items I had laying around the house. A vintage window with a broken pane out in my shed, scrap cedar boards laying around, and then there are the fabulous graphics from the Graphics Fairy.

We are snowed in today, so I got right to work on this project....Here is what I came up with....


Here is the step by step process in creating this piece...

1. Find an old window. Mine had a missing piece of glass, so I banged the other two out.


2. Sand off any lose paint. Spray a coat of polyurethane on the entire frame.


3. Use a chop saw to cut boards to size. I used cedar, but any kind of wood will do. Mine were approximately 7.5:x 8".


4. Choose a color to paint your boards. I chose I slate gray. I used one coat of paint because the paint I used covered well.


5. Next I distressed the boards on the face and the outer edges with my palm sander.(The color in the picture is much lighter than they actually are)


6.I went to the Graphics Fairy and printed out some images I liked.


7. I didn't have any modge podge laying around the house, so I made a glue and water mixture to adhere my pictures to the boards.


8. Apply the glue to the back of the print, then stick it on the board. Brush the glue across the top of the print and on the entire board to seal the photo and provide an even glazed appearance. Once this dries, spray or brush a coat of polyurethane on top for added protection and a finished look.


9. You will need some small hooks and closed hooks. I happened to have these laying around. The closed hook was screwed to the window and the open hook was screwed to the top of the board with art image.


10. Once this is done, your one of a kind wall art is complete.....


Tomorrow I will be sharing the bathroom makeover I have this wall art displayed in..

Take care,
Lisa


Linking up here:

Saturday Mornings
Funky Junk Interiors
Be Different Act Normal
Chic on a Shoestring Decorating
It's so Very Cheri
Paisley Passions
Lamb Around
CRAFT
The DIY Club
The Graphics Fairy
Making The World Cuter
Between Naps on the Porch

Friday, December 24, 2010

A bed for a queen....

A while back I found a queen bed at Goodwill.  Most would have passed it by, but I had a vision.  I bought it with the intentions of selling it.  When it was finished though, I was in love with it.  I had an angel on one shoulder telling me to sell and use the money towards the household.  The devil on my shoulder was shouting at me to keep it.  Seeing though that the bedroom renovation wasn't done at the time, I went with the angel and sold it. My customer drove here from NYC to pick it up.  She adored it and for that reason it was easier for me to let it go...She was sweet enough to send me some pictures once she set it up....

Photobucket

Photobucket

Looks so cozy!

In addition, she had me paint a custom sign for here living room.  She loves blueberries, so had me write the french version, which is Bleuets....

Photobucket

Photobucket
Take care,
Lisa

Linking here:

The Shabby Chic Cottage
Funky Junk Interiors
Remodelaholic
A Little Knick Knack
Faded Charm

For the love of blue....

I was to excited when I saw a fabulous, well would be fabulous hutch on Craigslist. Only $50. Randy went to a theatre to pick it up for me. This is what he came home with..

Photobucket

Photobucket

Photobucket


Great bones, but a little to dark for my taste....

Some white and a deep robin's egg blue and you have this:

Photobucket

Photobucket

Photobucket

Photobucket

Thanks for stopping by!

Lisa

Linking here:
It's so Very Cheri
Making The World Cuter
Primitive and Proper

Animal print meets shabby chic

I have an obsession with chairs....The detail on some are so intricate and the perfect fabric can change a piece from night to day.  They look great in any room of the house....I have even used them in the bathroom holding a galvanized tin filled with hand towels....

A few weeks ago I spotted this lonely soul at Goodwill for $3.  The caning on the seat was ripped, but I knew it was an easy fix....


Add some white paint.....

A fabulous fabric.....

And here you have it....

Snow leopard print + shabby white paint color = an eclectic design


Happy Holiday's!!!

Lisa

Linking up here:
Funky Junk Interiors
The Shabby Chic Cottage
Remodelaholic
A Little Knick Knack